Whole Chicken Cat Food Recipe
It has been proclaim passionately, that making a raw diet by grinding the whole chicken is the only way to make a natural feline diet. In concept it might be. However, we know that the small wild cats, from which our domestic cats are the direct descendants, are rodent hunters. They don’t hunt birds as a main stay, and certainly not chickens.
I think the whole-chicken-raw-cat-food’s claim to fame is the use of REAL bone, meaning that it is prepared to include the raw bones from the chicken. It is an extremely efficient and economical way to use the whole carcass of an animal – skin, flesh, and bone, but there is no indication that it is nutritionally superior to feeding flesh without skin and substituting raw bone with edible bone meal or freeze-dried bone powder.
In some instances, meat ground with bone may be nutritionally inferior, when cats are not capable to digest the bone fragments efficiently to absorb calcium. This has been documented in kittens that present with severe skeletal developmental deficiencies due to calcium deficiency despite the presence of ground bone in the diet.
Don’t get me wrong. Grinding a whole chicken and rendering it into cat food is an excellent way of taking care of cats’ nutritional needs. The whole trouble with this diet it that hardly anyone looks forward to the work, regardless of the level of dedication, and that 40% of cats, in my experience, object to the gritty texture of the food. Therefore, I would like to advocate this recipe as part of a varied diet for cats, but not as a superior diet.
Knowing how to turn a whole chicken into cat food is good knowledge to possess. Owning the tools to do so renders you more self-sufficient. Most of all, I feel every serious raw feeder should be familiar with this recipe in case of emergencies. As radical as it might sound, having the ability to render a backyard chicken into cat food offers great peace of mind.
The following recipe is prepared using a whole chicken carcass with skin and bone, the way it would be purchased in the store as a fryer or roasting chicken. Of course, feathers, guts, head, and feet are not used. Other birds like duck, pheasant, or quail can substitute the chicken in this recipe. You will need a meat grinder capable of grinding the bones.
For private use only unless credit is given.
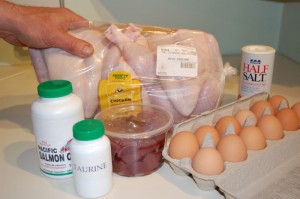
2 kg whole fryer or roasting chicken, “dressed” carcass
________________________________________________
200 g chicken liver
________________________________________________
4 raw egg yolks
________________________________________________
8000 mg Salmon Oil/or other fish body oil
________________________________________________
4000 mg Taurine
________________________________________________
800 IU Vitamin E
________________________________________________
Yields 18 x 130 gram (1/2 cup) daily rations. Feed 1/4 cup 2-3 x a day.
Do not cut corners by using only chicken legs or just chicken backs and necks to make this recipe. Use the whole, “dressed” bird and don’t cut anything away, like skin or fat. The chicken meat itself will contain little fat, and the visible fat is important as a source of essential fatty acids. Of course, don’t use a bird with guts, feathers, head, and legs.
You don’t need to add Vitamin A, B, or D because these are naturally occurring in both the raw egg yolk and raw liver.
Do not add whole egg, but only the egg yolk. Egg white contains the enzyme Avidin which will make the essential B Vitamin Biotin unavailable to your cat.
Add 2 cans of salmon, sardines, or mackerel packed in water as a source of Omega 3 fatty acids, instead of 8000 mg Salmon Oil or an Omega 3 fish oil, if you wish.
Although chicken – especially the dark meat of chicken legs contain Taurine, it is recommended to add Taurine to assure optimal levels of this essential amino acid in this recipe. If available, you can add 400 g of chicken hearts, but take that amount of chicken meat away. If adding chicken hearts, you do not have to add supplemental Taurine.
This recipe has a naturally pleasing texture and does not require the addition of water.
If your store bought chicken contains the heart, liver, gizzard, and neck in the body cavity, remove these from the little bag and simply grind into the recipe.
Pictorial Preparation Instructions:
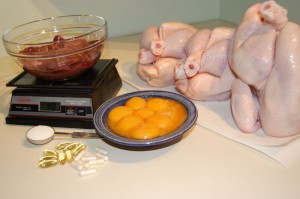 |
Here are the ingredients unpacked and measured. |
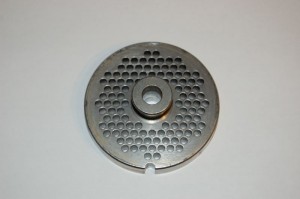 |
2. Choose the fine plate of your grinder for the next step |
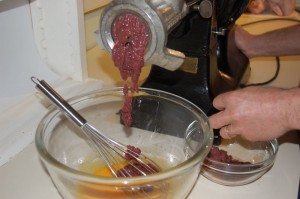 |
Grind the liver (and hearts) directly into the egg yolk mix. Grind directly into the bowl … |
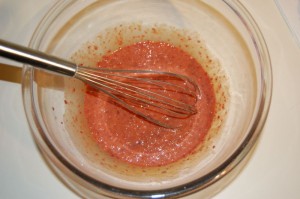 |
… and mix thoroughly with the egg yolk mix. |
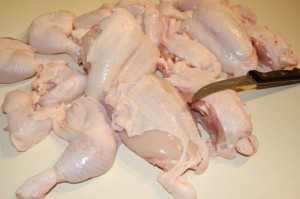 |
3. Now, part out the chicken carcass into legs, wings, breast, and back. |
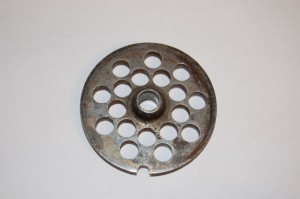 |
Switch to a separate bowl and the coarse plate of the meat grinder for the first step of grinding the chicken. You might be surprised how easy the chicken parts go through the grinder. |
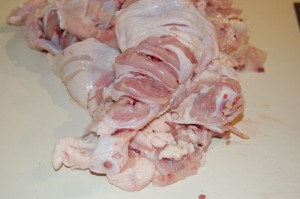 |
The beast and back may have to be made smaller with a meat clever before grinding. |
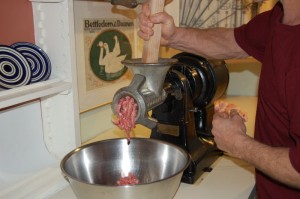 |
NEVER use anything but a designated plunger to help stuff the meat into the meat grinder’s throat !!! |
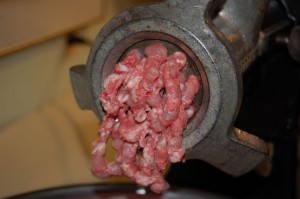 |
This is what the chicken will look like after the first pass through the grinder. |
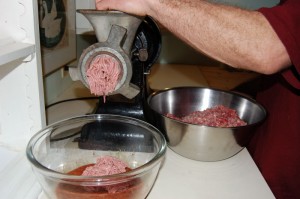 |
4. Switch back to the fine plate for the final step. Grind the coarsely ground chicken carcass again, directly into the bowl with your egg yolks, supplements, and liver. |
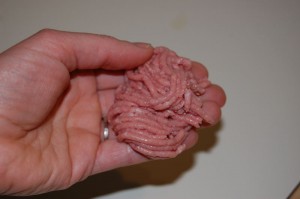 |
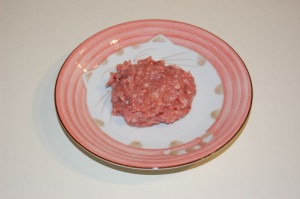
The second grind is very fine and without visible bones. If you didn’t know it, you could not tell this is a whole chicken with bones! |
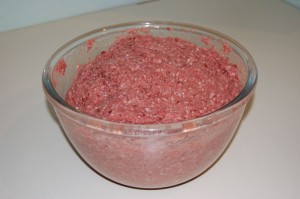 |
5. Thoroughly combine your finely ground chicken carcass meat with the egg yolk-supplement-liver mixture. Your cat food is now finished. |
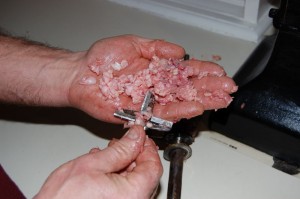 |
Discard any bone and cartilage fragments that remain in the grinder attachment. It is not recommended to mix them with the cat food. |
 |
I hope your cat likes it! |
What grinder to use?
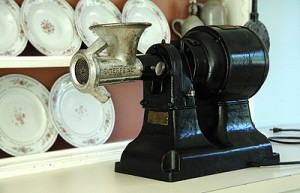 I don’t use this recipe often with my cats, because half of them object to the gritty texture of this food. When I do prepare it, I use our antique 1/3 HP (horse power) meat grinder, (picture on the right) which was given to us and refurbished by my husband. This piece of equipment is a bit large for the average kitchen, but it is a good example that used and even old equipment can do this job. Buying a new meat grinder can be a bit of an investment, and it pays off to scan the classified ads for a used one.
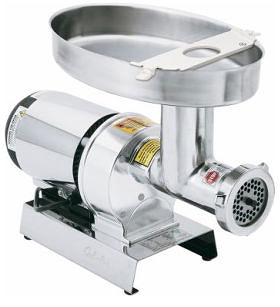 If I would prepare this recipe all the time, I would by a meat grinder like the one offered by Cabelas Outfitters (www.cabelas.ca). We have had the pleasure of borrowing this grinder from a friend. The smallest 1/2 HP model is more than sufficient. With a price tag of about $350.00, this is a good buy and a piece of equipment that can last you for life.
When buying a meat grinder, 1/2 HP is what you want to look for, if you wish for the appliance to last and do the job with ease. An all stainless steel grinder attachment is a must. Plastic simply will not hold up for long. If you want to get the job done fast, look for a large throat (the opening into which you feed the meat

